Written by Kate Tietje and updated by Sarena-Rae Santos in June of 2022.
A while back I had I stumbled upon this recipe for pizza snowballs. So, okay, that’s not real food. But it gave me an idea… Anything can be made with real food, right? Right?
That gave me yet another idea for a small problem: lunch. I could put together anything for the kids (when I was writing this, they were eating bits of leftover pasta, cheese cubes, and chocolate-coconut bars), but for me? Or to go? Please. Apparently, I am lame at that. This led me to believe I need to find new and improved lunch solutions.
I thought you might like to see my ideas, too.
So thus begins my recipe mini-series on “freezable, to-go lunch ideas.” (Seriously, I’m terrible at titles. It’s why I don’t name my own books. I always ask readers to submit suggestions and vote. Which is how my newest book, Simply Summer, got named — coming Jun. 18th!) For the next few weeks, or as long as I can manage, you’ll see several prepare-in-advance meal ideas that will be easily made in large batches, frozen, and reheated. In some cases they won’t necessarily need heating, just thawing.
These ideas would be awesome for:
- People who work outside the home
- Kids, for school lunches
- Playdates/on-the-go lunches
- Fast dinners on busy nights
- Any time you don’t want to cook
Could it be any better? If you like the recipes and the mini-series, please share. 🙂 Please pin it, post it to Facebook, whatever! We so appreciate it when you share content you like.
Pizza Balls
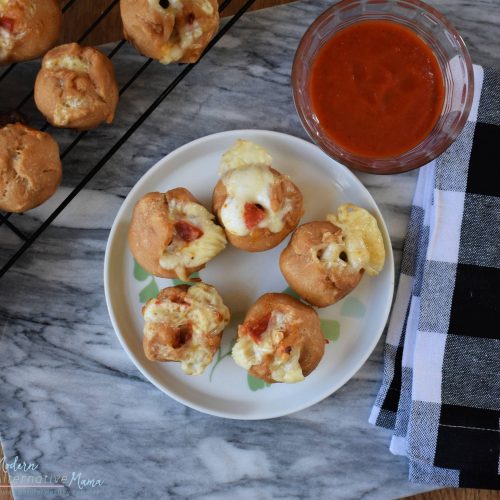
Today’s selection is “Pizza Balls.” These can come with so many variations if you’re not into pizza. You could use almost anything — any meat, cheese, or veggies you like.
Ingredients:
- 4 cups of white whole-wheat flour
- 1/2 cup olive oil
- 1 1/4 cups water
- 2 tsp. sea salt
- 3 tsp. yeast
- 1 lb. mozzarella, shredded
- 1/4 lb. pepperoni, chopped into bite-sized pieces
Directions:
Step 1: The night before you want to make these, mix the flour, oil, and water in a bowl. Cover it, and set it aside. This is the soaking step, and we do this to neutralize the phytic acid (which makes it healthier and more digestible). It needs to sit at least 12 hours in a warm place. (I was crazy tired and forgot to take pictures of these initial steps, sorry!)
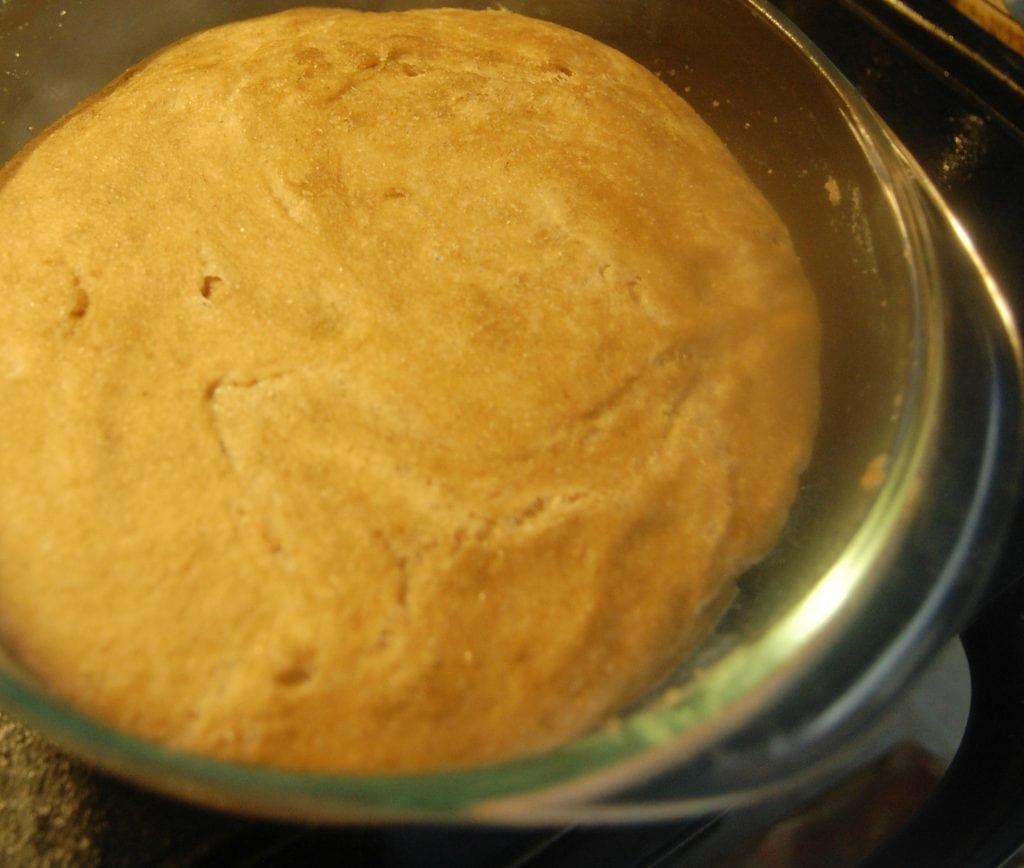
Step 2: The next day, add the sea salt and the yeast and stir it together. Knead it for about 10 minutes until smooth and elastic. Return it to the bowl and place it in a warm location. Allow it to rise until doubled, about 2 hours.
Step 3: Punch it down. Shred your mozzarella if it doesn’t come that way. I accidentally did twice as much as I needed, so I froze the rest for another time.
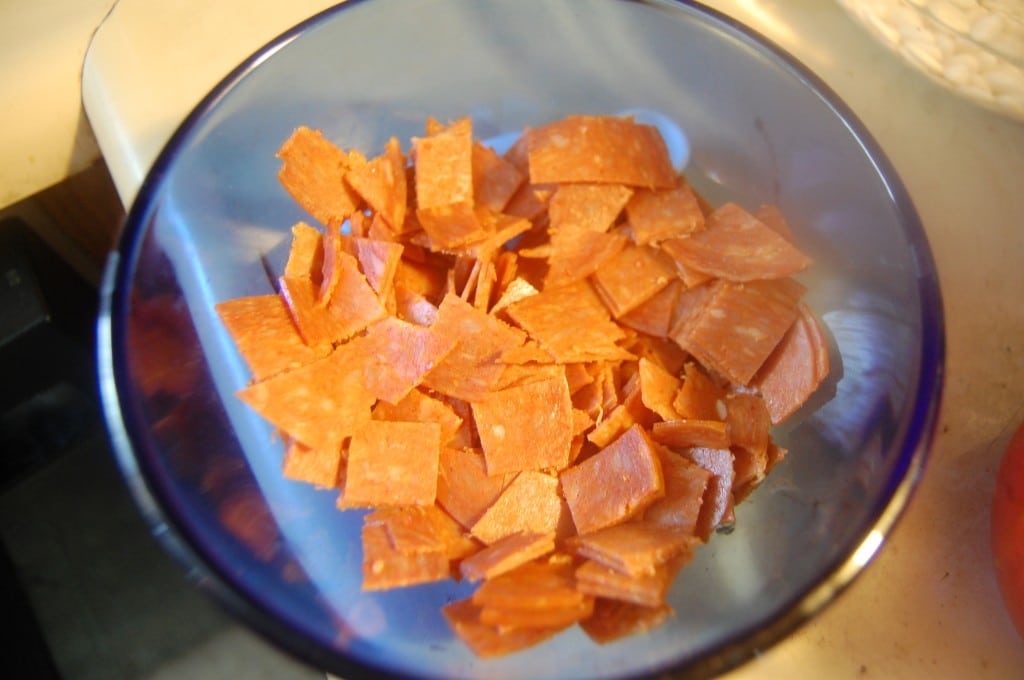
Step 4: Chop up your pepperoni into bite-sized pieces. I started with Applegate Farms’ sandwich-size pepperoni slices. It is nitrate-free and uncured. I chopped each slice into 16 pieces.
Step 5: Now, you could choose to add diced green peppers, sliced and sauteed mushrooms, cooked sausage, or whatever other pizza toppings you prefer. I kept it simple this time, but I might try using peppers, mushrooms, and sausage next time! (Which my kids wouldn’t eat…oh well.)
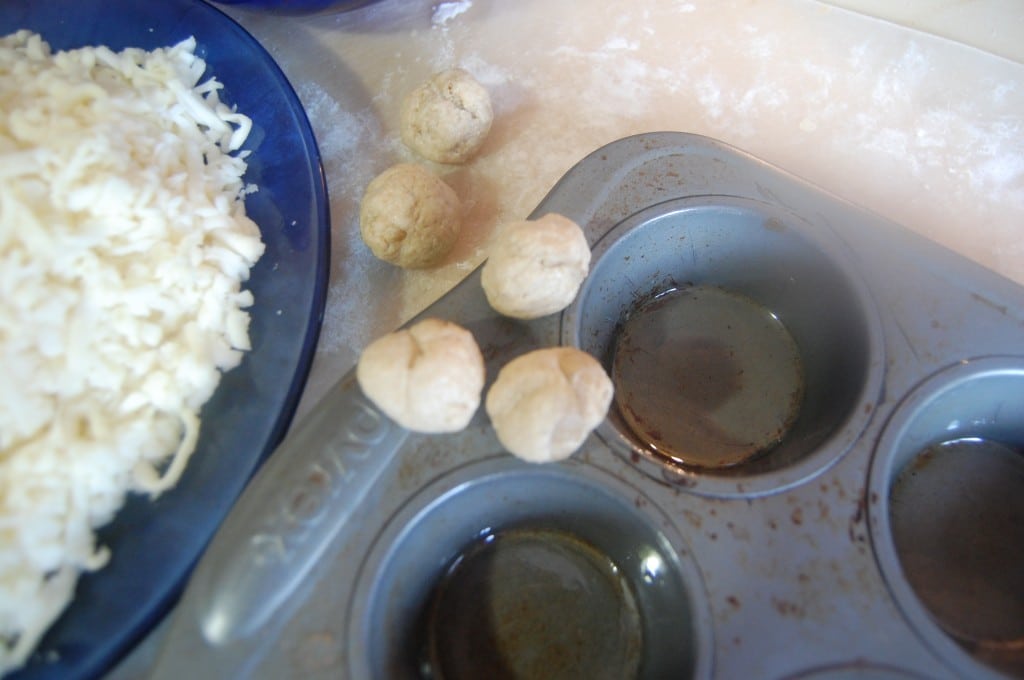
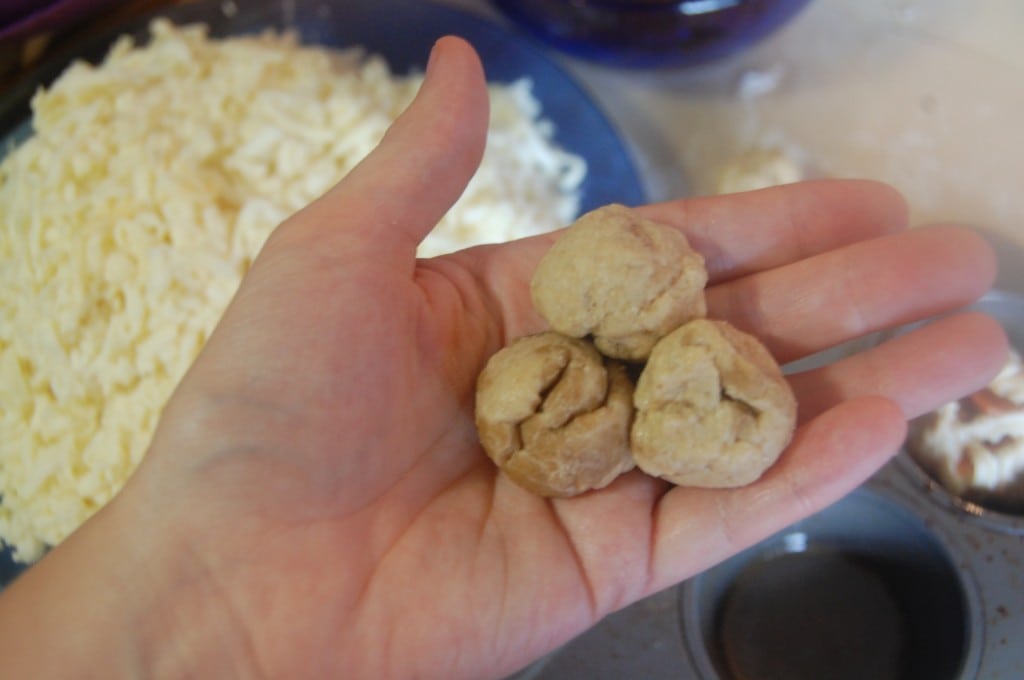
Step 6: Roll three small pieces of dough into balls. 1″ balls work great in regular-sized muffin trays (which should be greased), and 1/2″ balls work great in mini-muffin trays.
Step 7: Grab your dough balls in your hand.
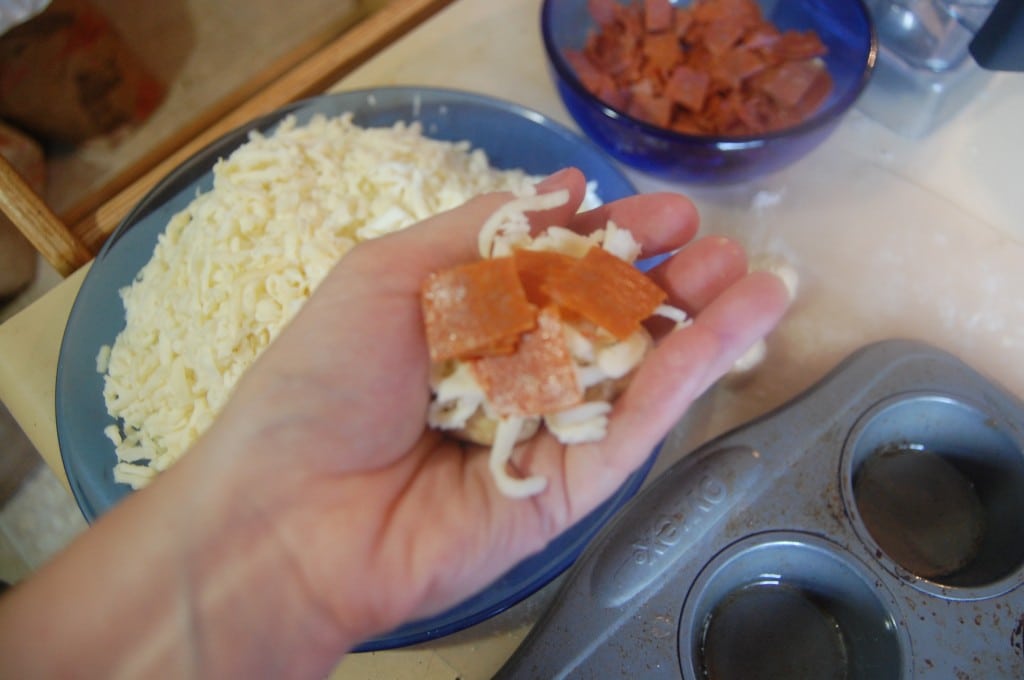
Step 8: Add a tbsp. or so of cheese and 4 – 5 pepperoni pieces.
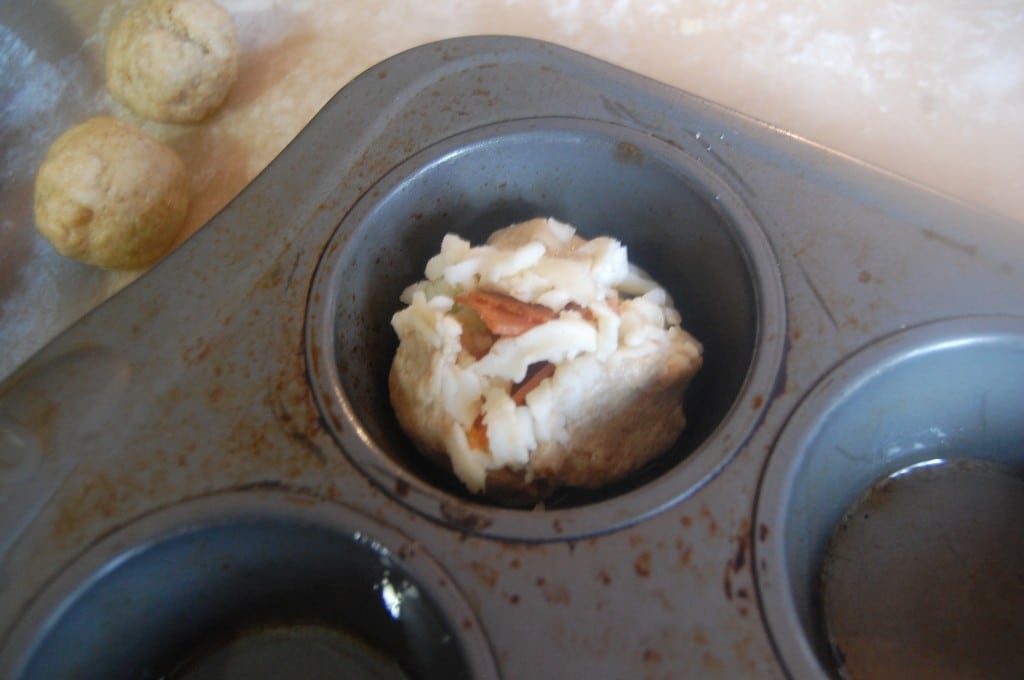
Step 9: Mash it into a rough ball shape, with the toppings mostly in the center. Put this into the muffin trays.
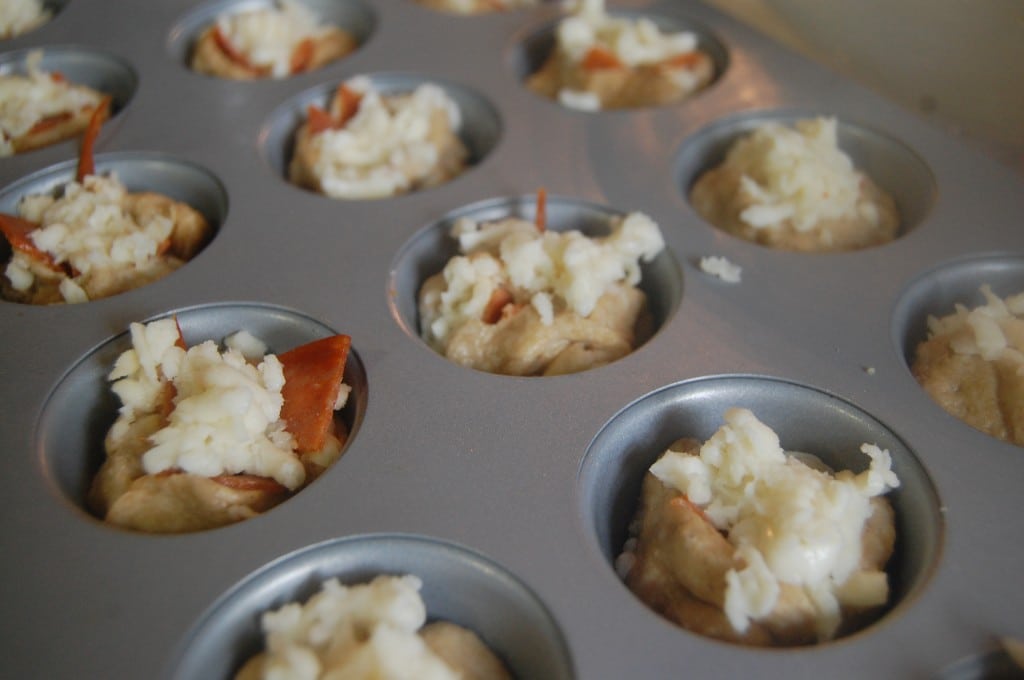
See how pretty they are now?
Step 10: Let this rise for about an hour. Preheat the oven to 425 (but don’t accidentally put them in the oven to rise and forget that when you go to preheat!). Bake the pizza balls for about 15 minutes.
Step 11: When they’re done, pop them out and serve them with tomato sauce for dipping, or let them cool completely and put them in a bag and freeze. They can be reheated by separating them on a tray (with space between each ball) and baking at 400ºF for 5 – 10 minutes.
They are a bit of work in the initial stages. It took me a good hour to get the whole batch done. But I got almost three dozen minis and 12 regulars, so that will work for a lot of lunch! I serve with some veggie sticks and home-canned fruit for a really simple meal.
Pizza Balls
Ingredients
- 4 cups of white whole-wheat flour
- 1/2 cup olive oil
- 1 1/4 cups water
- 2 tsp. sea salt
- 3 tsp. yeast
- 1 lb. mozzarella shredded
- 1/4 lb. pepperoni chopped into bite-sized pieces
Instructions
- The night before you want to make these, mix the flour, oil, and water in a bowl. Cover it, and set it aside. This is the soaking step, and we do this to neutralize the phytic acid (which makes it healthier and more digestible). It needs to sit at least 12 hours in a warm place. (I was crazy tired and forgot to take pictures of these initial steps, sorry!)
- The next day, add the sea salt and the yeast and stir it together. Knead it for about 10 minutes until smooth and elastic. Return it to the bowl and place it in a warm location. Allow it to rise until doubled, about 2 hours.
- Punch it down. Shred your mozzarella if it doesn't come that way. I accidentally did twice as much as I needed, so I froze the rest for another time.
- Chop up your pepperoni into bite-sized pieces. I started with Applegate Farms' sandwich-size pepperoni slices. It is nitrate-free and uncured. I chopped each slice into 16 pieces.
- Now, you could choose to add diced green peppers, sliced and sauteed mushrooms, cooked sausage, or whatever other pizza toppings you prefer. I kept it simple this time, but I might try using peppers, mushrooms, and sausage next time! (Which my kids wouldn't eat...oh well.)
- Roll three small pieces of dough into balls. 1" balls work great in regular-sized muffin trays (which should be greased), and 1/2" balls work great in mini-muffin trays.
- Grab your dough balls in your hand.
- Add a tbsp. or so of cheese and 4 - 5 pepperoni pieces.
- Mash it into a rough ball shape, with the toppings mostly in the center. Put this into the muffin trays.
- Let this rise for about an hour. Preheat the oven to 425 (but don't accidentally put them in the oven to rise and forget that when you go to preheat!). Bake the pizza balls for about 15 minutes.
- When they're done, pop them out and serve them with tomato sauce for dipping, or let them cool completely and put them in a bag and freeze. They can be reheated by separating them on a tray (with space between each ball) and baking at 400ºF for 5 - 10 minutes.
Notes
What do you think of the “pizza ball” concept? What would you put in yours?



do you think this could be made gluten-free? any suggestions? Thank you so much!
I think if you mix 2 c. almond flour, 1 tsp. baking soda, 1 tsp. sea salt, 1 eggs, and 1 c. milk (shh…that recipes is actually from one of my books), you could plop a bit of the thick batter in each muffin cup and add the cheese and pepperoni (or other toppings) in the center. It won’t work quite the same way but it’ll be delicious!
I would love to see these with a gluten/yeast free option!! 🙂
I have a soaking question: is it as simple as just following the recipes flour and water requirements. But do that stage first, let sit 12 hours, and them continue on with the recipe?
Yes, soaking is just that simple! 🙂
Yum, thanks for posting!
I’m also curious about GF. Thanks!
yum! these do look good Kate and my kids would love them! for gluten free I am thinking i would use an almond flour biscuit recipe and modify with these ingredients,…or almond flour pizza muffins, just not sweet, or maybe even pancakes, though maybe the cheese would stick to the pan too much in those, and as i find almond flour pancakes already harder to flip, perhaps that would not work so well. i think i may try these soon with almond flour biscuits!
These look fun and yummy! I’m going t o try them tomorrow with chicken and alfredo sauce for dipping (we are nightshade-free).
Yay! Lunch is my nemesis…unless its pb&j or nitrate free turkey and raw cheese sandwiches…so I am super excited for this! Heavenly Homemakers has a great recipe for pizza pockets that freeze well too. They went over great here!
I can’t wait to give this a try, too! Looks so yummy – and with 3-4 of us making these all at once, it will take a lot less time. Thank you! Can’t wait to see your additional lunch recipes for those of us who aren’t dependent on school lunch programs. 🙂
Thanks for the link! And I’m excited to try your version in my quest to take baby-steps toward better eating!
Yum! What a great idea. Pinning this right now!
Wow these look FANTASTIC. Im totally pinning this recipe, thanks so much!!!
I have been trying to do more freezer cooking. This would be a great addition. I am always looking for good snacks.
we finally tried these last night, they were very good!
I think for our family we will make some changes for next time by using our pizza crust recipe (but try soaking which was not as hard as I thought!) that adds herbs, and we loved changing the fillings by adding sausage, peppers & onions.
They were great plain and dipped! and I’m happy to have a few in the freezer for 2 quick lunches another time, Thanks:)
Hey, if you can manage to soak dough, then anyone can. 🙂 If you do try mine again, add a couple tbsp. of honey to it. I think I may have done that and forgotten….
I am thinking, for gluten free, that using glutenfreegirl’s all purpose flour mix (which she tells you how to customize based on your pantry and preferences) might work. She says it can be substituted in place of flour in a ratio of 140 grams of AP gf flour mix for 1cup of flour. I am not sure how it works as far as soaking the grains though?
Did you come up with any more freezer friendly to go family meal ideas like this? Above you state you were trying to get a collection of them together. Do you have a link?
There are several more but not linked together — I should do that! Cheeseballs, sausage balls, banana muffins, philly cheesesteak pockets.
When you add water and oil to soak do you mix it all up with the flour or leave it on top of flour?
Mix it all up. 🙂