I love baby wearing, especially in the early months.
Baby wearing allows me to keep the newest family member close, while keeping my hands free to help the older kids, too. Plus, my babies usually sleep peacefully when worn, which is really nice.
This doesn’t last forever. Once they can sit and crawl, and especially walk, my babies usually refuse to be worn! Silly kids. 🙂
My babies also don’t like to be worn when I’m sitting down or standing still, which tends to be the case more often at home than on the go. My carrier of choice when we’re out is a Moby wrap (or a homemade version thereof — super easy to make, no sewing required). I had a similar wrap for home with the last two babies, but we rarely used it because they just didn’t want to be worn when I was at home very often.
This time, I wanted a carrier that would be much quicker and easier to get on and off, and get baby in and out of for home. I decided that a pouch sling carrier would be the best option.
I spent several weeks, on and off, reading various tutorials, patterns, and watching videos, trying to figure out how to make one. I found most of them very confusing. Yet, when I finally sat down to make the carrier, I realized how easy they are!
It seems that a clear, easy-to-use tutorial is in order!
DIY Simple Pouch Sling Carrier
This truly is really simple. I chose to use a piece of linen fabric, because it is lightweight yet sturdy — good for the summer. It also looks the same on both sides, so there’s really no “wrong” side to deal with. It is possible to do this with any fabric you like, from quilting cotton (you may need two layers) to denim (very sturdy, but rather warm for summer months). I like the linen I chose, but feel free to choose whatever want.
It’s also worth noting that the fabric I chose was 60″ wide. This meant that I only needed 1 yard, because 60″ was just about the length I needed for the carrier. If my fabric had been only 44 – 45″ wide, I would have needed more like 2 yards to ensure I had enough length. You may need more length than I do, depending on your size. It’s better to go for 2 yards if you are unsure (72″ long) so that you know you have plenty. But measure yourself before you shop, so you know what you need.
You will need:
- 1 – 2 yards fabric
- Thread
Directions:
Step 1: Measure yourself from shoulder to hip, across your body (so right shoulder to left hip). My measurement was 27″ (as best I could measure around my belly anyway). Add 3″ to this length to account for the pocket, then double it. This is the total length you need for your sling. Mine was 60″, as I mentioned above.
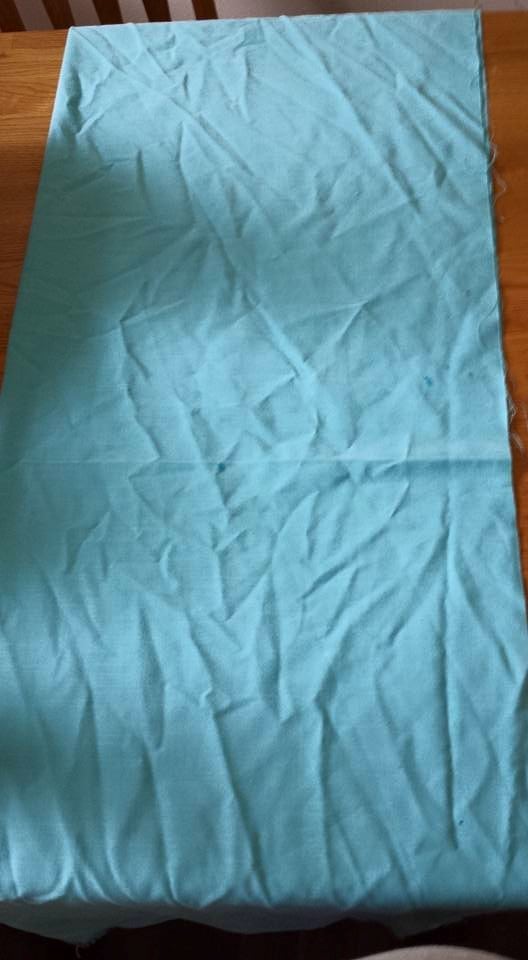
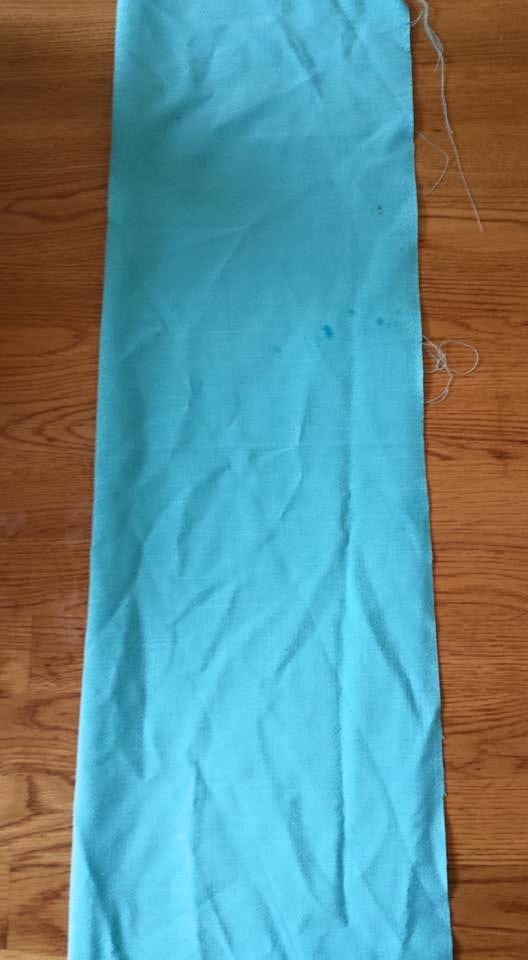
Step 2: Fold your fabric in half lengthwise, and cut it so that it is no more than 22″ wide. Since my fabric was 60 x 36, I cut it right down the middle, leaving me with two pieces that were each 60 x 18.
This means that if your fabric is wide enough, you will get two slings out of it! I did.
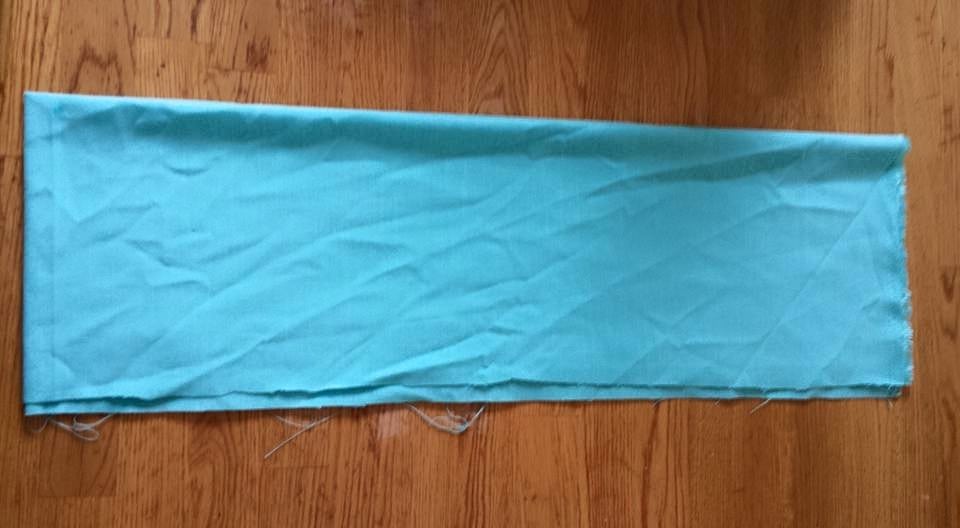
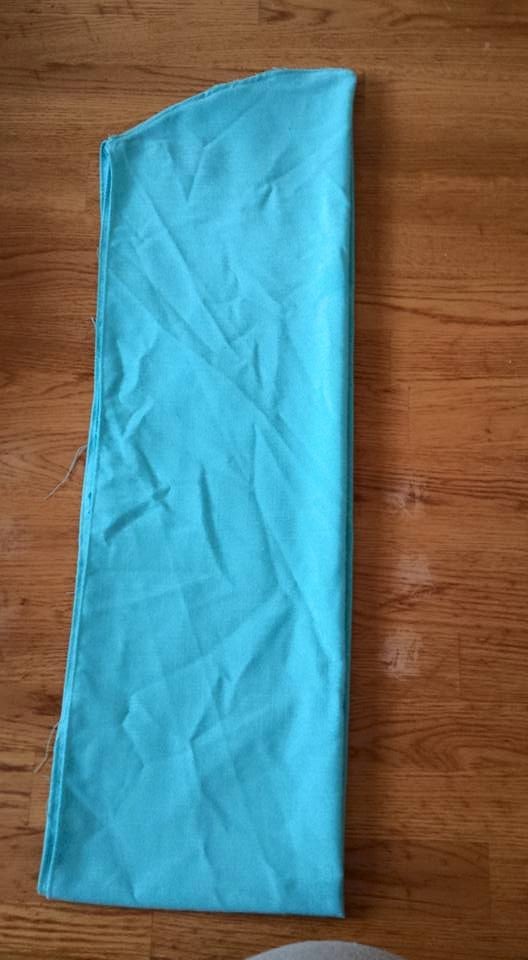
Step 3: Fold your fabric (the piece for one sling that you have cut) in half lengthwise.
Step 4: Fold this fabric in half again, the other direction. You should have a rectangle that is 1/4 the size as the original, but the same shape. (It’s 4 layers thick.)
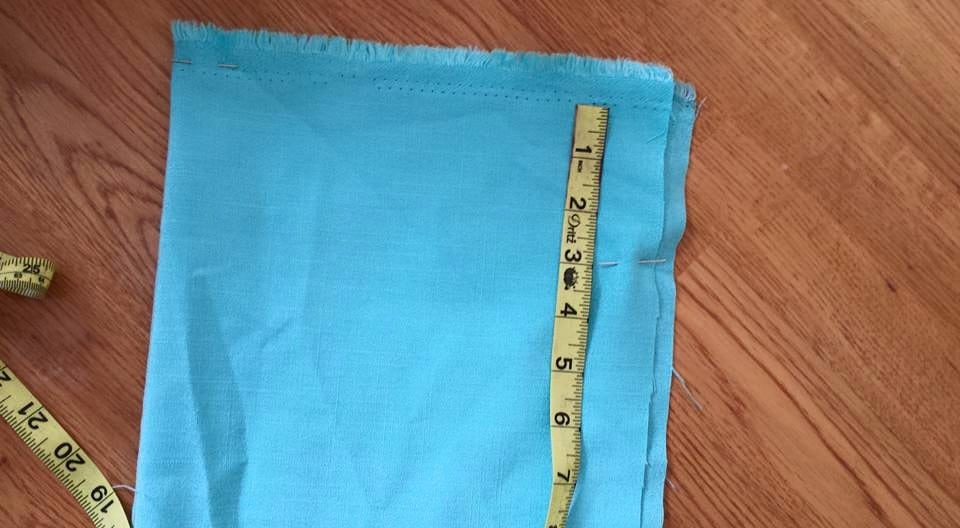
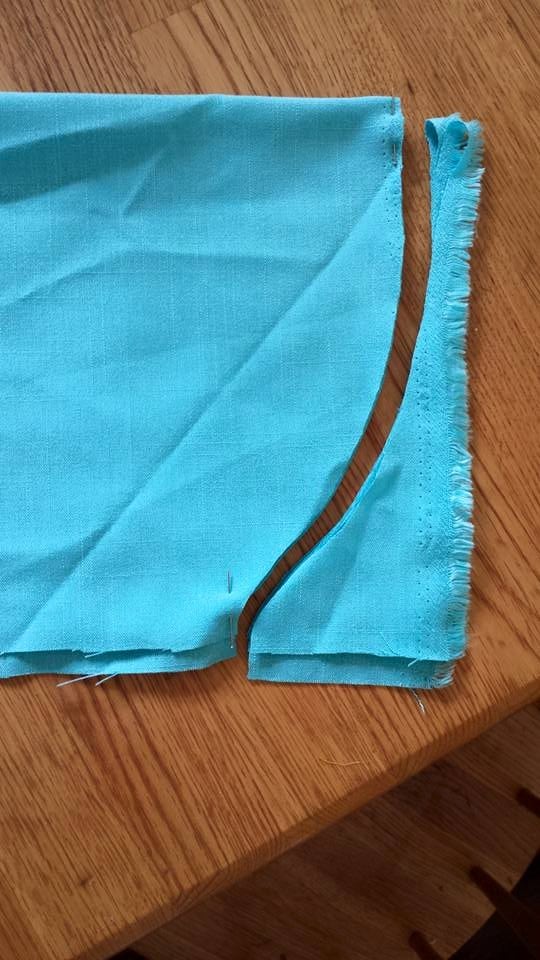
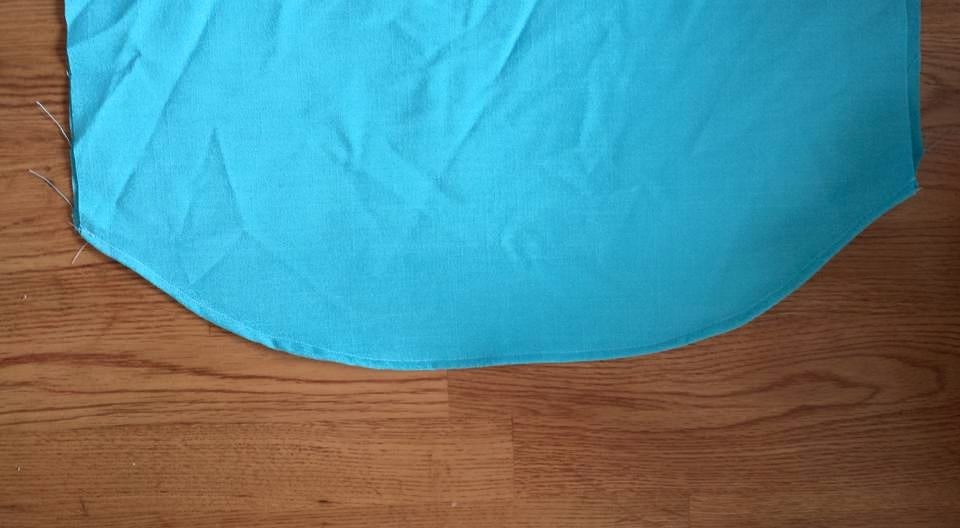
Step 5: Starting at the folded long side, open short side, place a pin in the fabric. Then, on the opposite side, place a second pin that is 3″ lower than the first. (See above so that’s clear.)
Step 6: You are now going to cut your curve. Start at one pin, and curve over to the other pin (see the picture again).
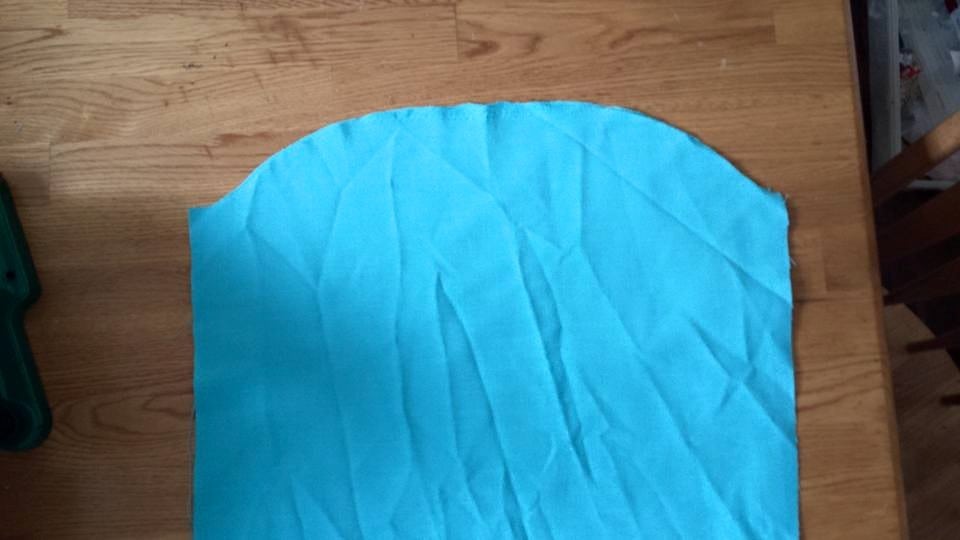
Step 7: Open your fabric up now. Fold it in half so that the curved edges are together. We’re going to sew along the curve three different times. If your fabric has a “right” and “wrong” side, you want the wrong sides together (right sides facing out).
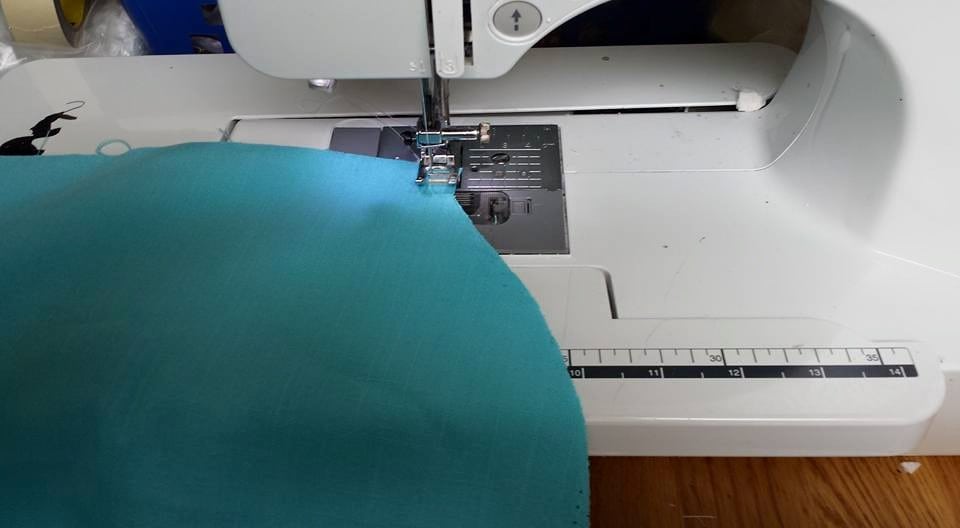
Step 8: Sew along the curve, about 1/4″ from the edge.
Step 9: Flip the fabric inside out now. (It should effectively be a big tube, with the curve on one side.)
Step 10: Sew along the curve again, making sure it’s pressed together as much as possible. You can iron it if you want to get the seam flat, but I didn’t bother. Sew carefully, so that the fabric doesn’t pucker.
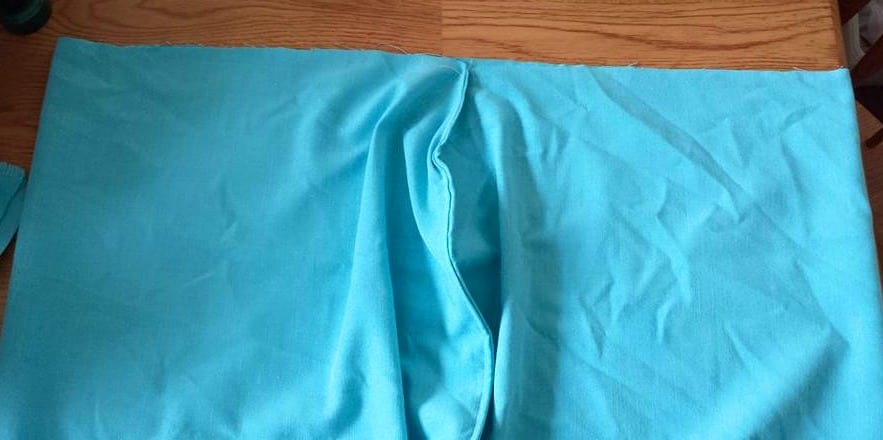
Step 11: You now have what is called a “French seam,” which means that it’s been sewn from both sides and the first seam is completely encased in the second. Now, we’re going to open the seam, like above. (The seam is right down the middle.)
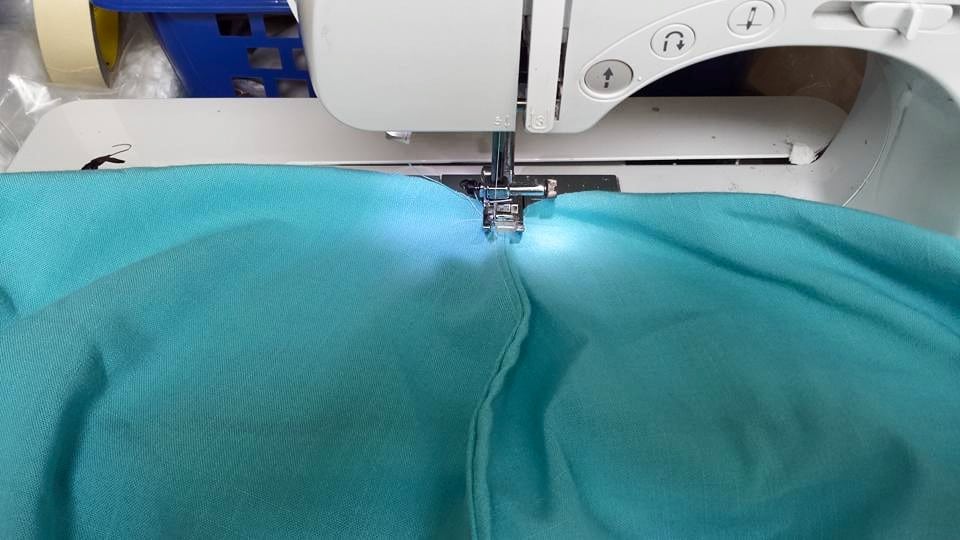
Step 12: Press the seam flat, and sew along it, down the center. This makes the seam smooth so it doesn’t bother your baby, and makes it look nice, and reinforces it so it’s sturdy. You can sew with a straight stitch (which I did this time), or you can use a zig-zag or more decorative stitch (which I did on the second carrier).
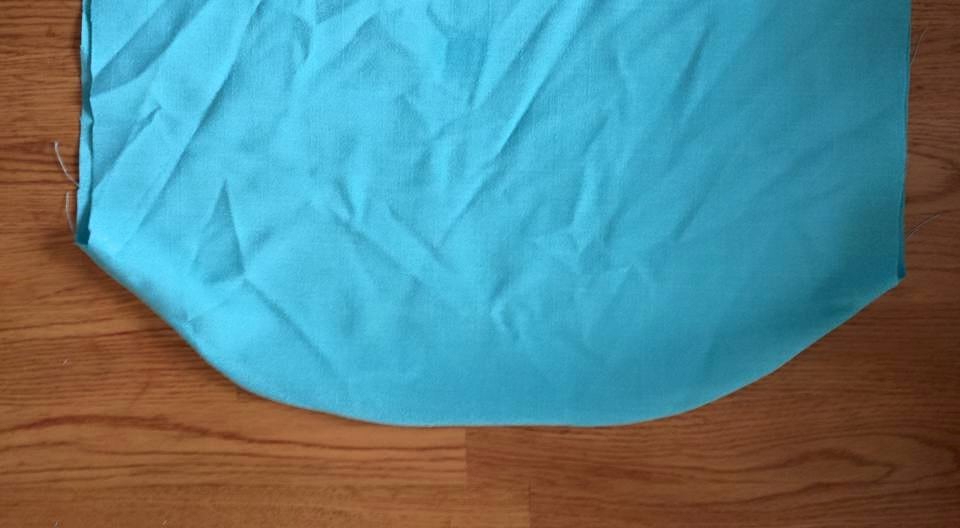
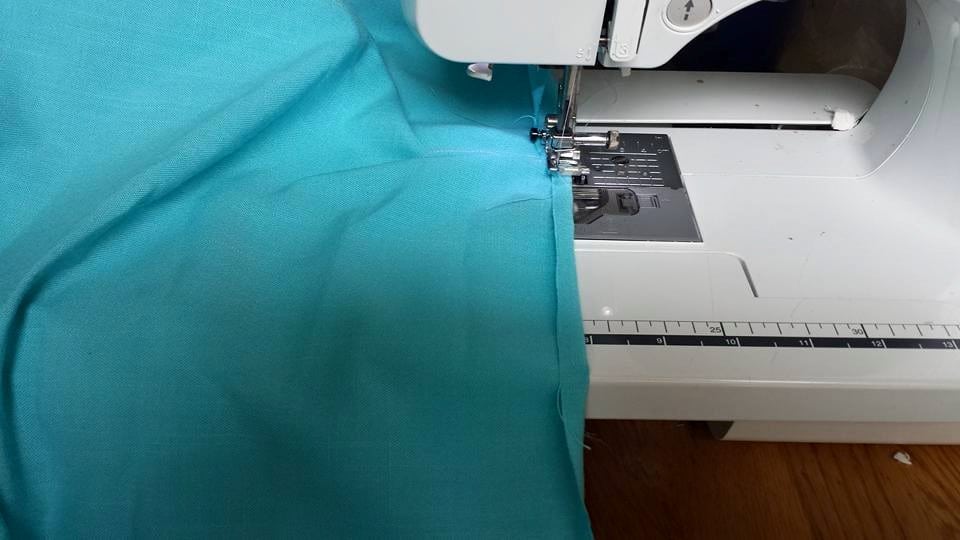
Step 13: At this point, your carrier is almost finished! All that needs done is the edges need to be hemmed. I turned mine in 1/4″ and sewed around. The hemmed edge should be on the same “side” of the fabric as the French seam.
Step 14: Once the edges are hemmed, turn your carrier right side out. It’s done!!
To use the carrier, you will fold it in half so that the carrier is only about 10″ wide (mine’s really about 9″ wide). Put it on over your head, with the seam/pouch near your hip. You will open up the carrier and lay your baby in it, with the baby’s head up near your breast and bottom in the pouch part. Or, an older baby can sit on your hip with their bottom in the pouch.
That’s it! Pretty simple, right? This should only take 20 – 30 minutes to sew. I was surprised at how quickly it went. But it truly is not hard.


Could you should some pictures of this sling in use? And btw, I love your blog!
quilting cotton is not recommended for baby carriers as it isn’t sturdy enough. Also pouches are not as safe as other styles as you really have to watch to make sure their airways are clear. I urge anyone who is new to baby wearing to find help with wearing from a reputable source like Baby Wearing International.
Pouches are perfectly safe baby carriers. They must be sized well, but babysits in the recommended vertical position in a pouch. Keeping babies airway clear is a must for any carrier, not just pouches.
I would also like to see a picture of this being used. I made one for someone and she isn’t sure how to wear it and wished there was a picture.