Written by Kate Tietje and updated by Sarena-Rae Santos in November of 2023.
Who doesn’t love a pretty skirt?
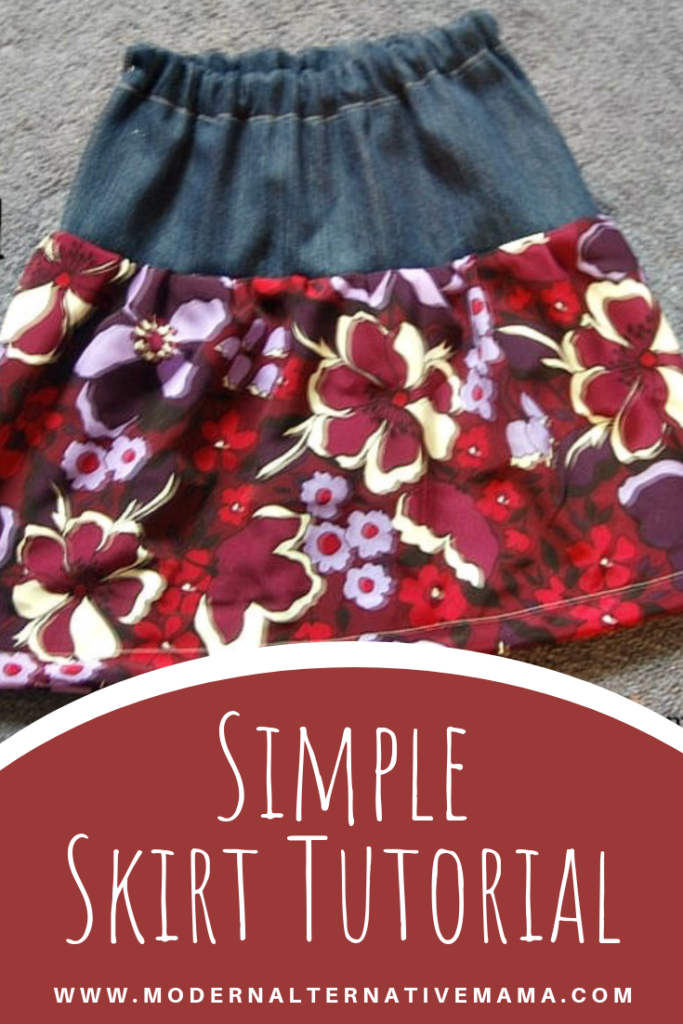
I made this skirt style for my daughter Rebekah in 2011 for Christmas. She loved it and wore it all the time. She was thrilled When she heard I would make her another to do this tutorial! I even decided to make myself a similar one, too…why not? I like pretty clothes, and FREE (I have a ton of fabric sitting around…seriously, like 100 yards or something) sounds awesome to me!
All you need to be able to do is do a straight stitch. It is very basic and easy to do this skirt, so it’s a great project for a beginner. Or someone more experienced because it does make a cute skirt. 🙂
You will need:
- 1 – 3 lengths of fabric (depending on how many layers you want to your skirt)
- Matching thread (I use neutral/tan on everything)
- Elastic, 3/4″ or 1″ (depending on size; smaller for a smaller person)
- Measuring tape
- Scissors
- Pins
I know; I didn’t say how much elastic or fabric you need. It varies entirely depending on how big you want the skirt. So, let’s talk about that part of the skirt tutorial first.
You can make the skirt all in one color, two colors (coordinating colors/patterns), or three colors. So the first thing you need to do is decide how many you want.
Now, measure yourself or your intended recipient from the natural waistline to where you want the skirt to end. I prefer a long-ish skirt that falls a couple of inches below the knees. It’s up to you how long you want to make yours. You will add 2″ for seam allowance and elastic casing to this measurement. This is your total skirt length. This is your number if you are making it from just one fabric.
If you want to make a skirt that is two different colors, divide this number in half and add 1/2″ to each. So, if you want a skirt to be 24″ long when finished, you will add 2″ — 26″ total. Then you will divide this in half — 13″ each. Add 1/2″ for seam allowance — 13 1/2″ per piece. This is your length per piece.
If you want a skirt in three different colors, divide your number by 3, then add 1″ to the “middle” piece and 1/2″ to each outside piece. So, if you want a 24″ skirt, you add 2″ — 26″. Then divide by 3 — we’ll call it about 9″ (it’s really 8 2/3″). Add 1/2″ to top and bottom pieces — 9 1/2″ each. The middle section, add an inch — 10″ total.
Now, you need to figure out how big around the skirt needs to be. Measure your waist loosely with a soft tape measure. You will want to add 6″ to this number for your top (or only) tier. This is so you can put in the elastic and have extra fabric there to make it look gathered and pretty. You want 2″ less elastic than the original number.
If you are doing additional tiers, the second one needs to be 50% wider than the first. The third needs to be 50% wider than the second. This is because you will be gathering it later.
Types of Fabric
I have used all fabric types: light cotton, silky, denim, etc. It seems to work out okay. It’s probably best to use either denim or light to medium-weight cotton. Silky fabrics may look a little weird. But, choose what you like; this is forgiving.
Simple Skirt Tutorial
Okay, it’s to get sewing!
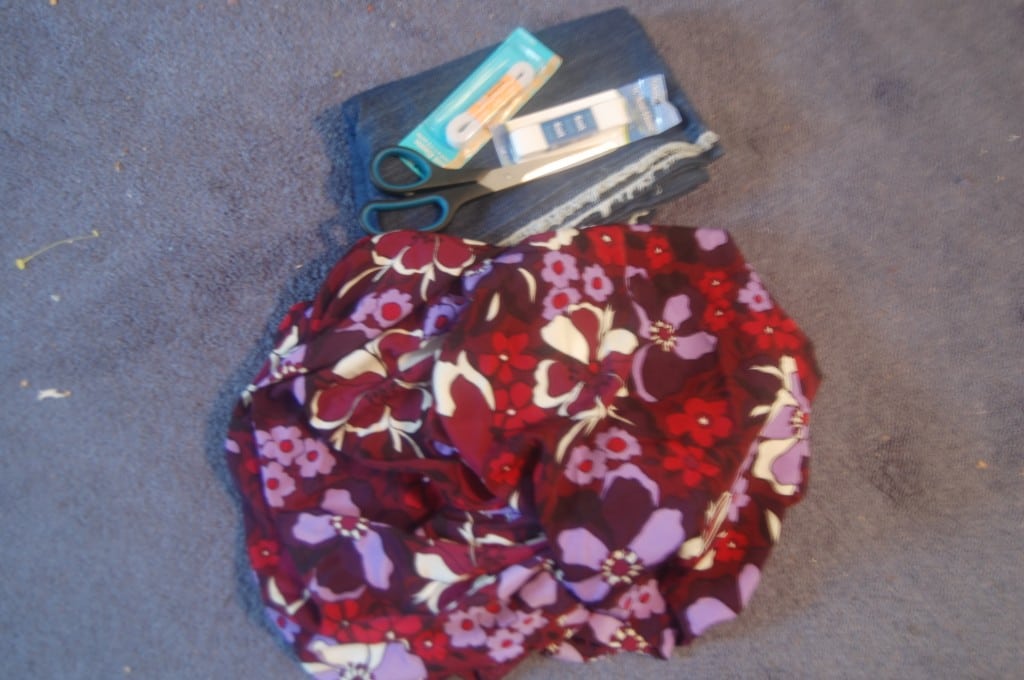
Step 1: Gather up your materials.
Step 2: If you haven’t already, measure yourself (or your intended recipient). If, like me, you’ve temporarily lost your tape measure, you can take a rough estimate by wrapping the fabric around yourself and adding the 6″. This worked for us. Cut your first rectangle (your top piece).
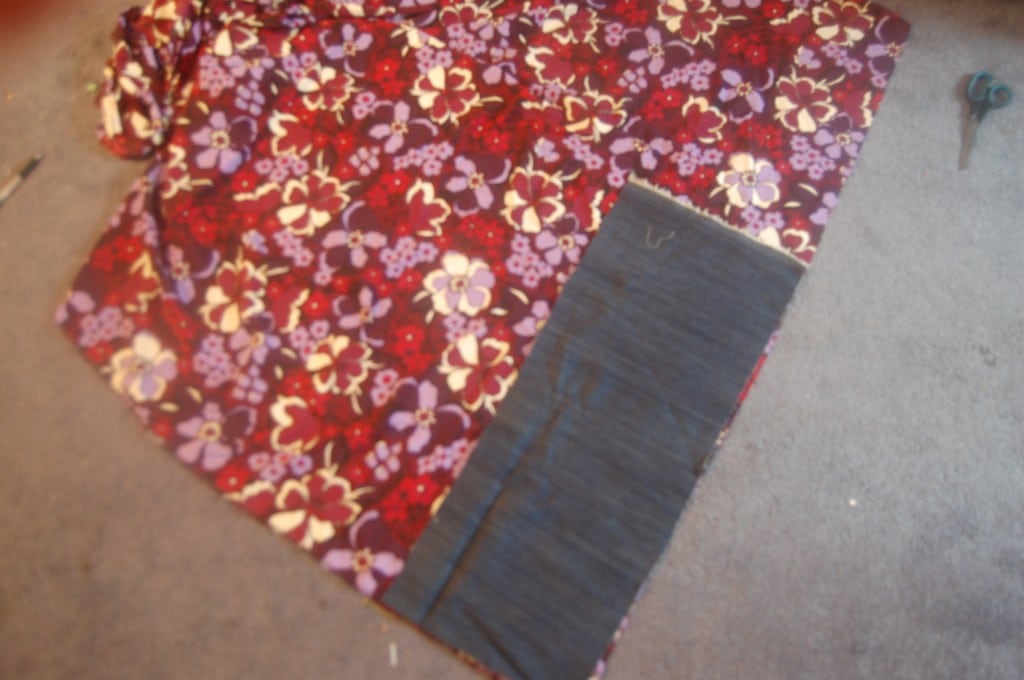
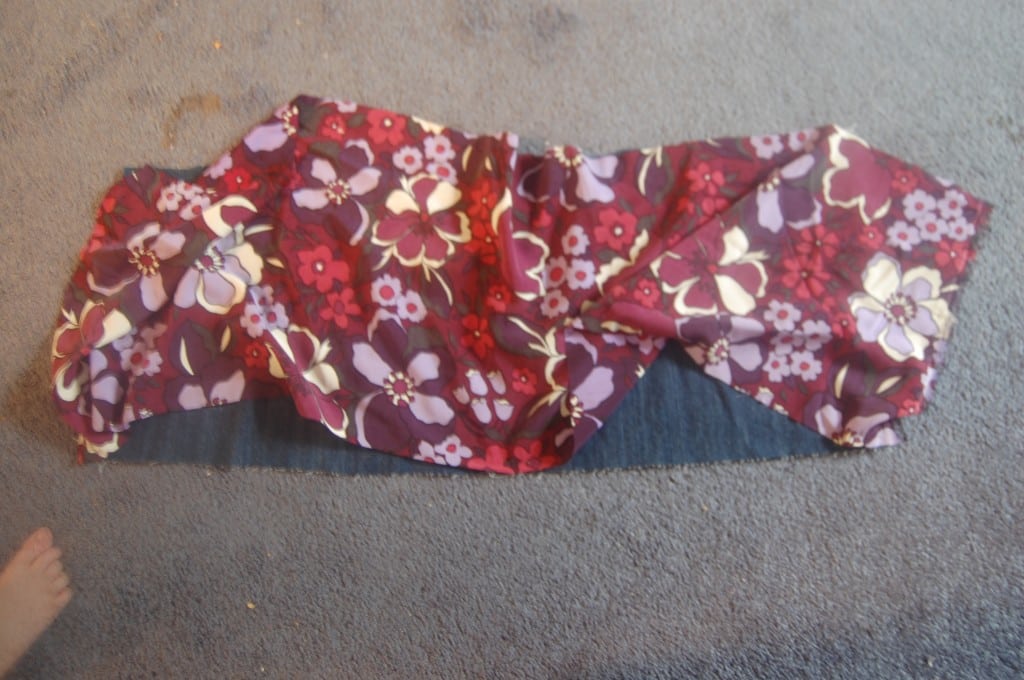
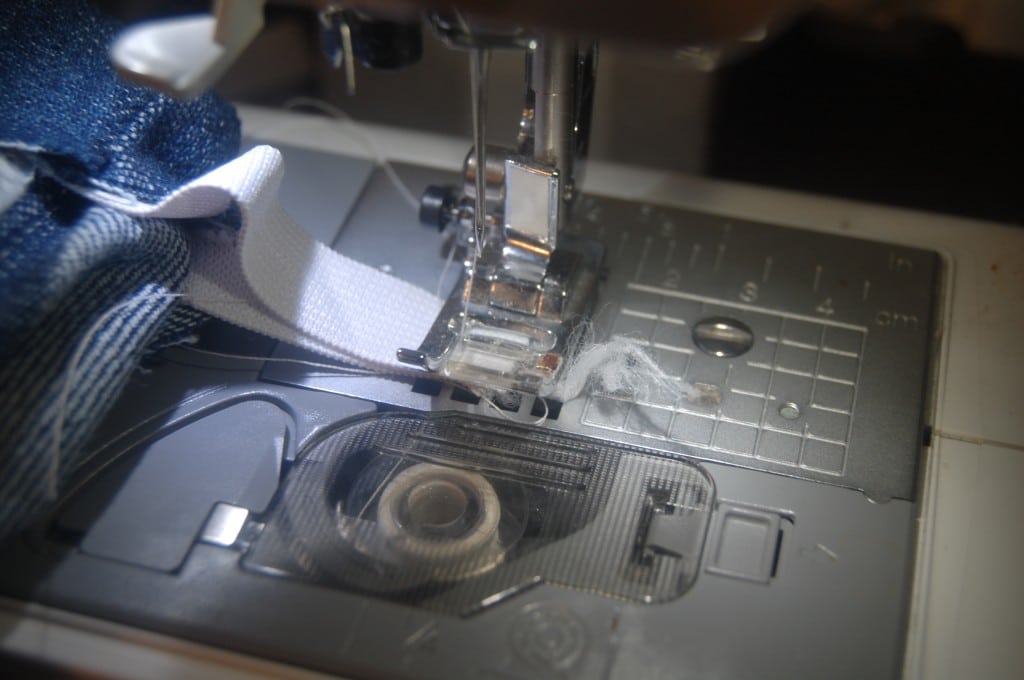
Step 3: The denim is my top fabric. I have it lying on my bottom fabric. I will cut the bottom piece roughly the same width but 50% longer like this.
See how it extends well beyond? That’s how you “measure” if you’ve lost your ruler. This pattern is pretty forgiving. Like I said, it’s simple. 🙂
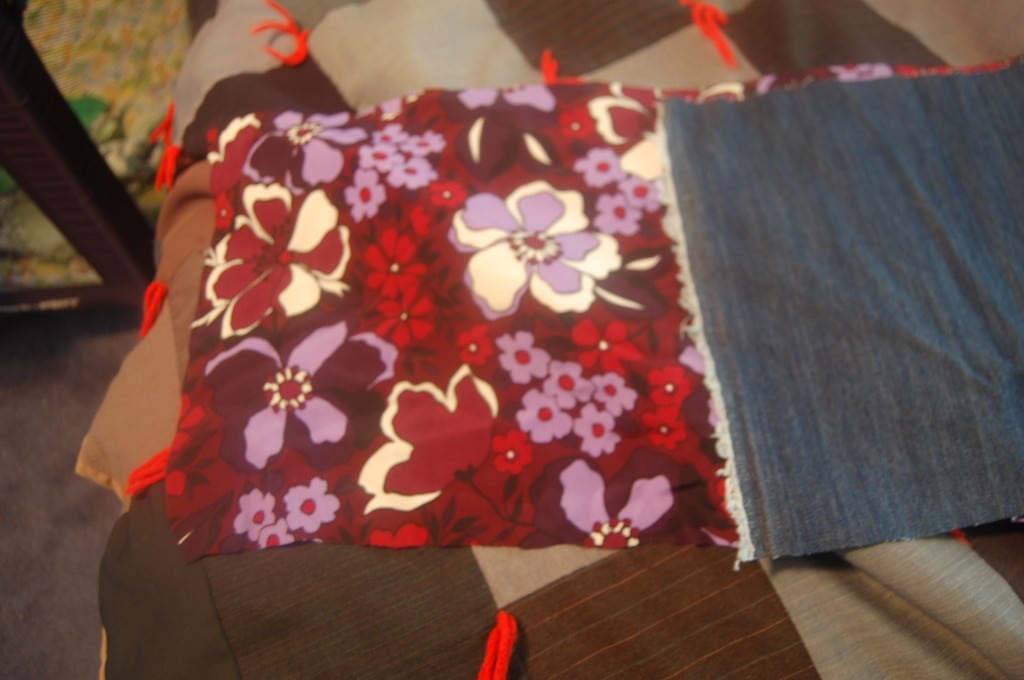
Step 4: Now it’s time to sew! First, you will need to pin the two pieces together, right sides together (if you have three, you will do this next part twice. If you have one, skip this part). Match the ends and the center together. The longer piece will be loose around the pins.
Yes, that was my daughter’s foot there…she was “helping.” 🙂
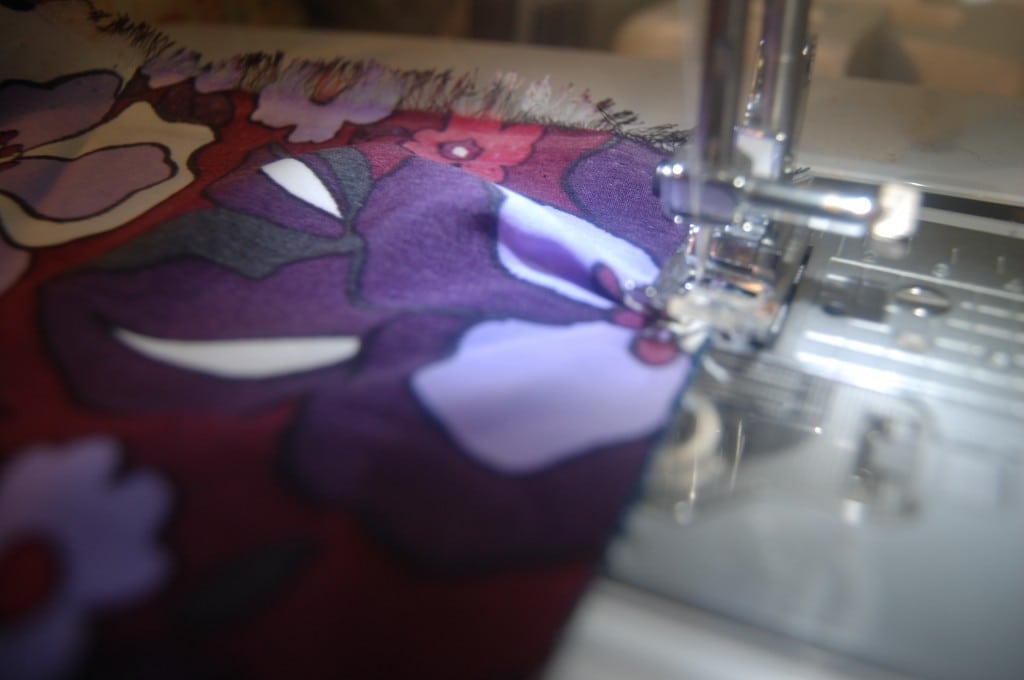
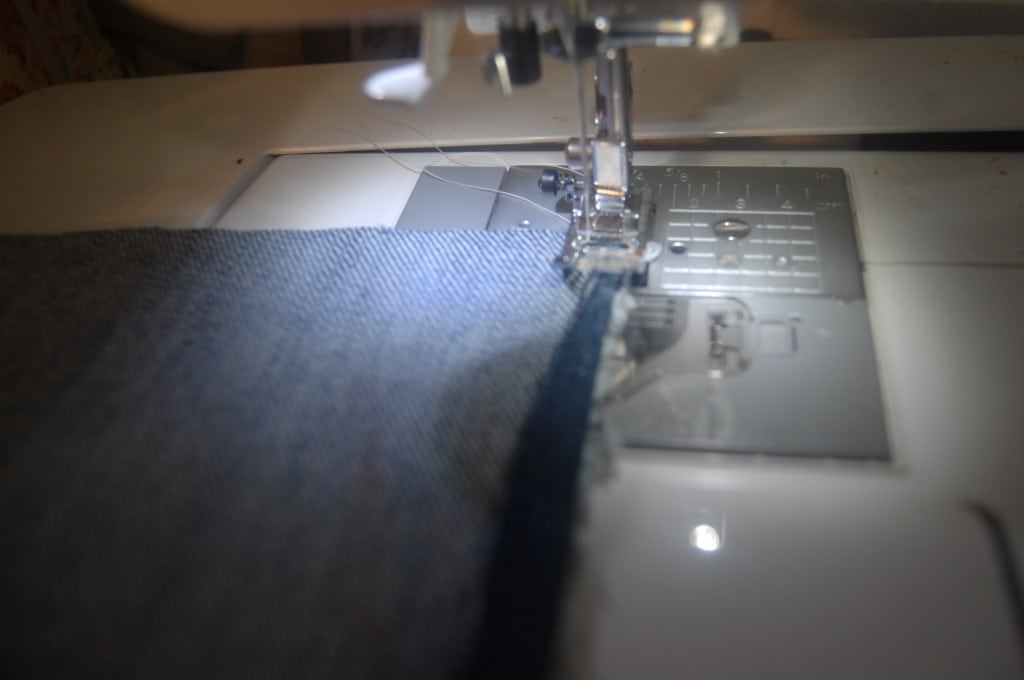
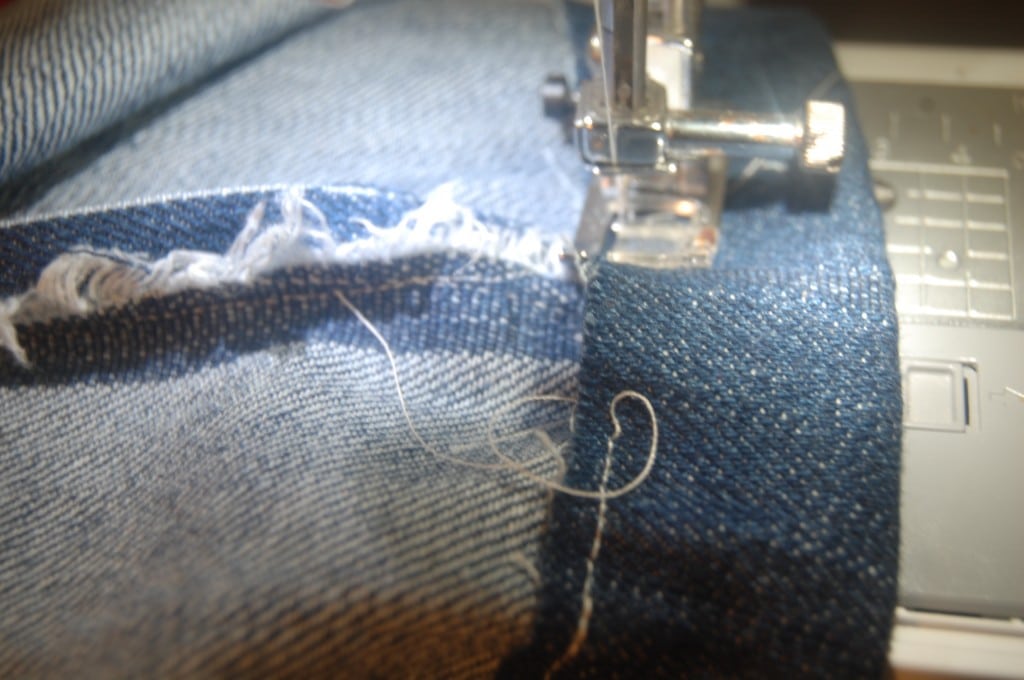
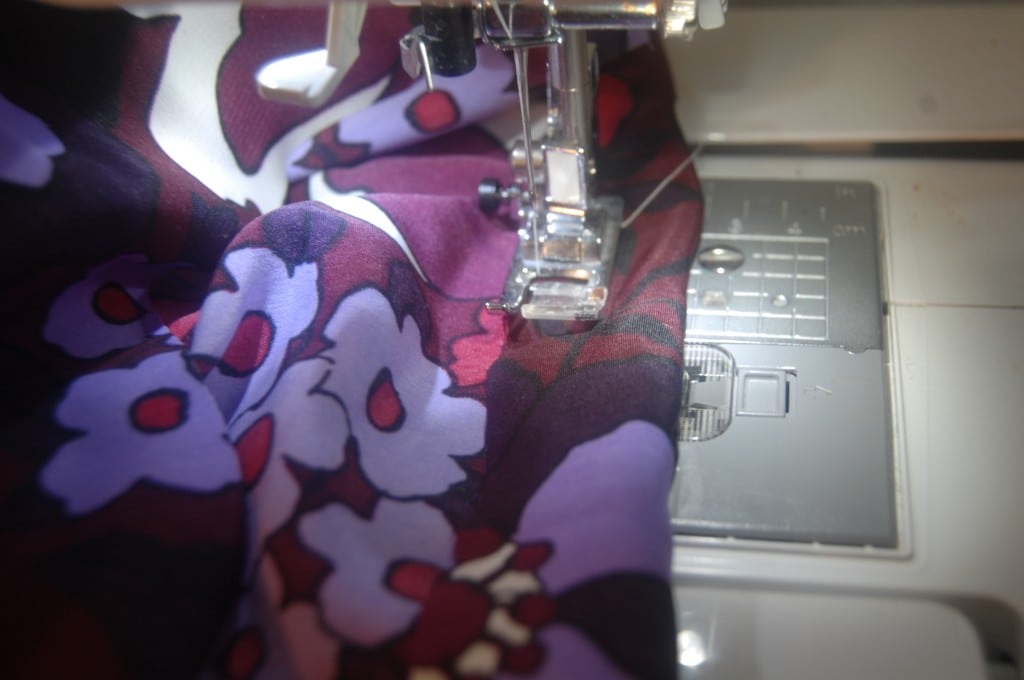
Step 5: Now you will sew it. Start at one end and gather slowly as you go along. I do mine like this. A quick sewing note: always forward a few stitches, then backstitch, then continue sewing normally at the beginning of every seam. It helps to add strength. Do the same at the end — backstitch a bit to ensure it’s sturdy.
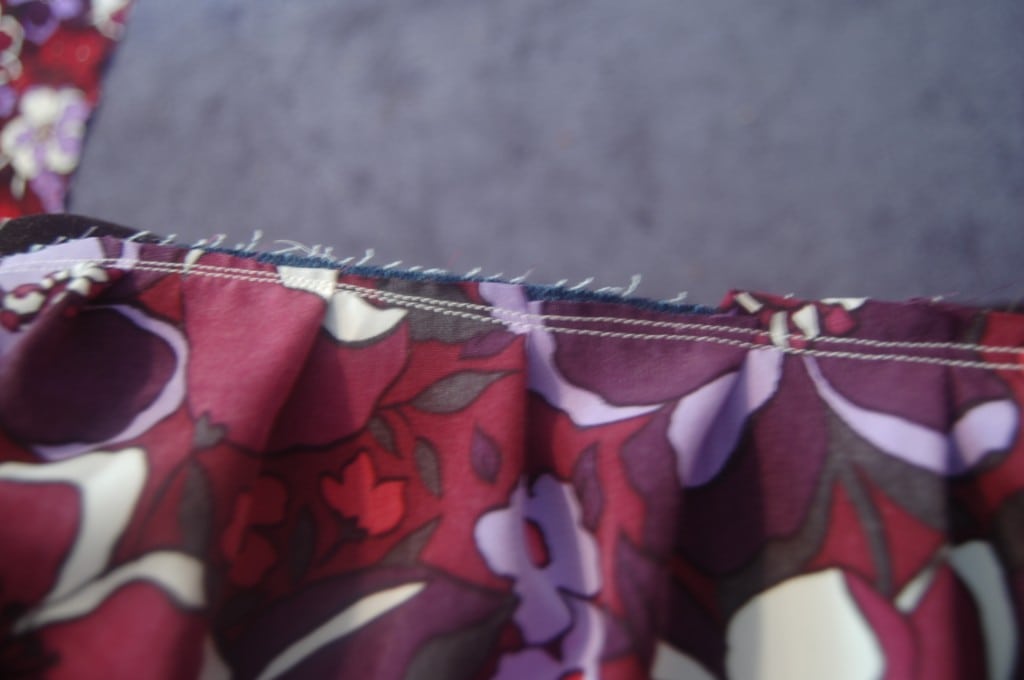
Step 6: I do this every 1 – 2″ all along the skirt. It works out as a nice little gathering. Once you have done this, you must sew a second seam just below the first to reinforce it. It will look like this.
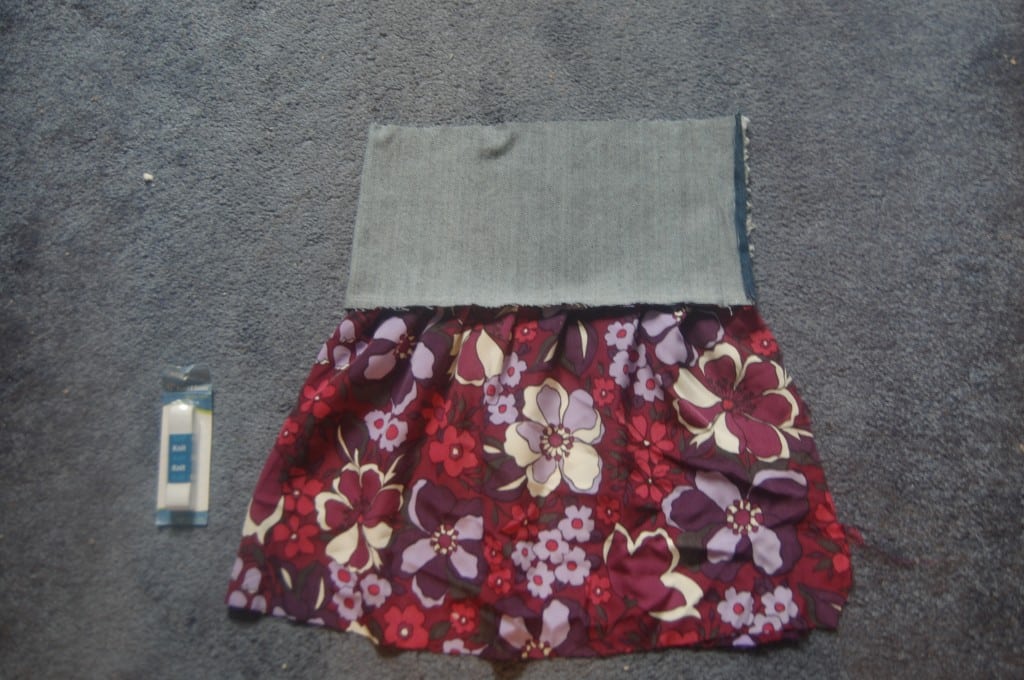
Optional: If you have a third tier, repeat the last few steps to get that third tier sewn on. If not, move on.
Step 7: Fold your skirt in half, right sides together.
Step 8: Now, you will sew a seam down the open side to assemble the skirt. Almost done!
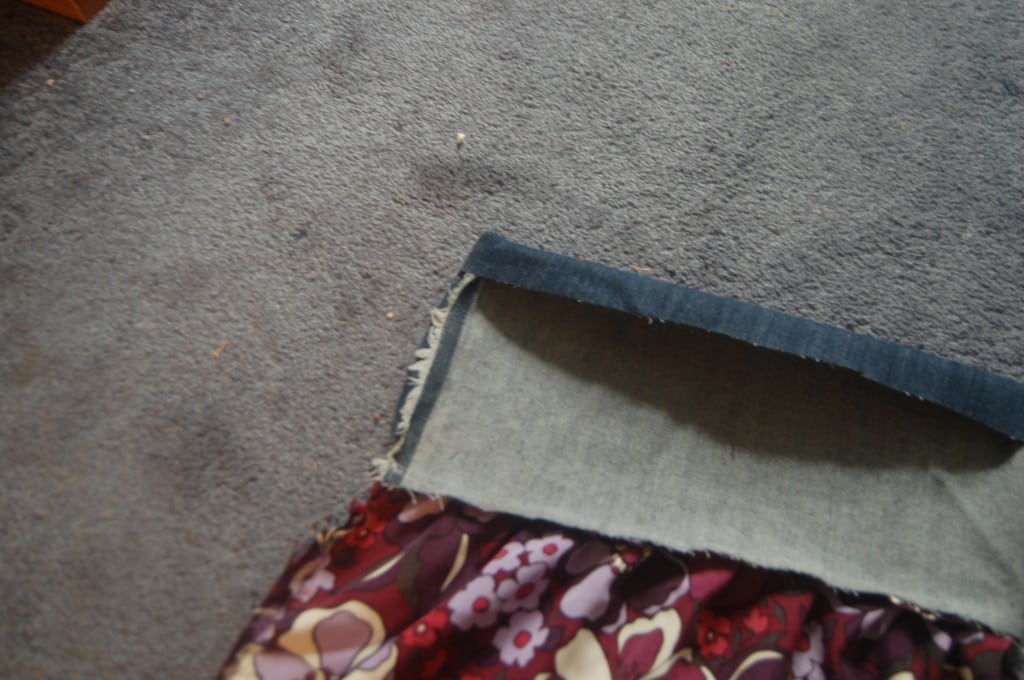
Step 9: Now, turn down the top of the skirt (to the inside) to make a casing for your elastic. It should be 1/4″ further than your wide elastic. I used 1/2″ elastic for my small daughter. Use bigger elastic for bigger people. Here’s mine folded down.
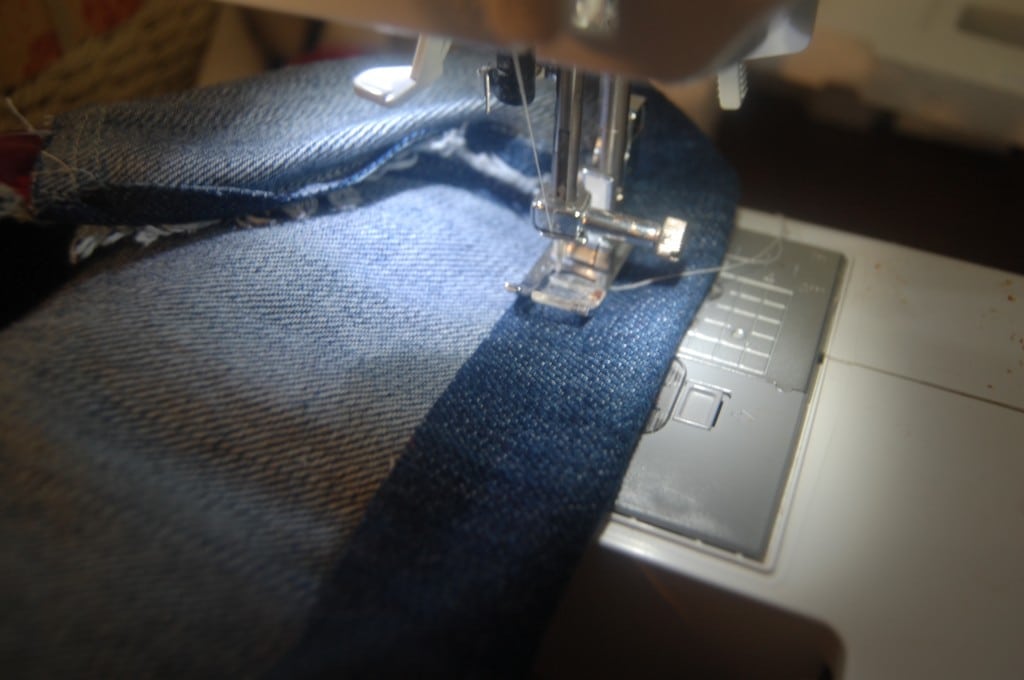
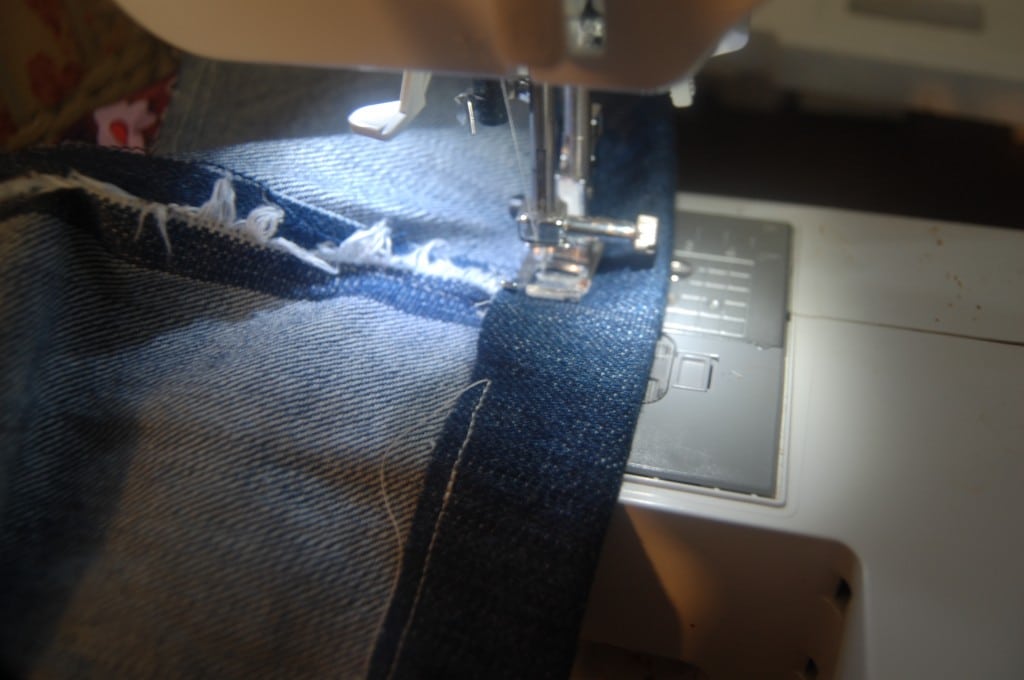
Step 10: Sew this casing down, but not all the way.
Step 11: Leave a couple of inches open in the middle, like this:
Step 12: Take your elastic and put a safety pin on one end. This will give you something to grip as you put the elastic through. Slip the safety-pinned end into the casing and work the elastic all the way through, making sure not to lose the other end inside!
Step 13: Sew the elastic ends together once the elastic is all the way through (make sure to keep it flat; don’t let it get twisted, or it will be uncomfortable). Go over them three or four times (forward stitch, back stitch, repeat).
Step 14: Once sewn together well, allow the elastic to go fully inside the casing. Smooth it out so it’s roughly evenly gathered around the skirt (you can adjust this later as you’re wearing it, so it is not that crucial now). Sew the opening of the casing closed.
Step 15: All that’s left to do is hem the skirt. If possible, you will want to try the skirt on now to see how much it should be hemmed. (I did one for my niece as a gift for Christmas, so obviously, I couldn’t have her try it on. But I do with my daughter.)
The right way to hem it is to fold it up 1/2 as much as you want and pin it and sew it, then fold it up again and pin and sew, using a zig-zag if desired. This way, you have a nice finished edge inside and out.
…or you could be lazy like I was and just fold it up and sew it once. No one’s going to see, right?
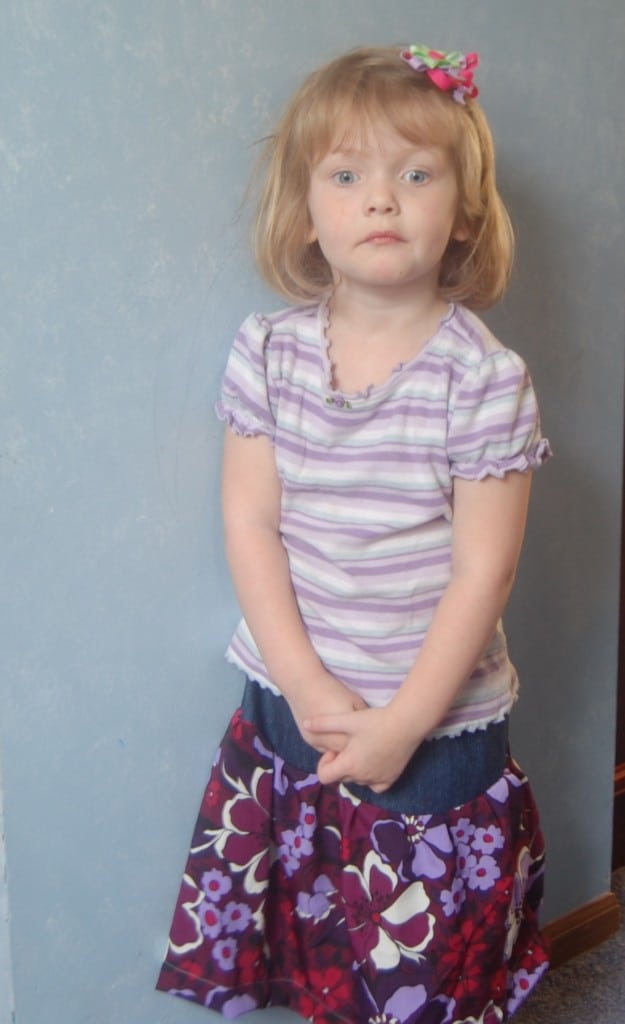
Now your skirt is done! Isn’t that cool? Here’s my little model with her skirt. She normally hated having her picture taken and would run from the camera, but she was so pleased with her skirt that she agreed to pose for me. She did, however, feel the need to make faces. 🙂
How easy was that?
Have you ever sewn your own skirt with a skirt tutorial?



Thank you so much for this!!!! I have tons of hand-me-down fabric that I MUST find a use for and, with summer quickly approaching, this is perfect! Although, since I don’t have a sewing machine, I’ll have to hand sew. Sounds a bit scary but worth a try!
Bekah is SO cute btw! I loved the faces lol!
I just purchased a barely used sewing machine and I’ gobbling up sewing ideas. Too bad I didn’t get the machine earlier I’d have made cloth diapers. But I will be trying the skirt! I want to incorporate more into my wardrobe and I want to learn to sew…perfect combo!
Thanks for posting.
this is a great tutorial ! Thank you for taking the time to share ! ! Since our children wear out the knees on their jeans like, almost immediately, thinking I will try to use the top part of the jeans and sew a skirt from there………..(maybe…) 😎